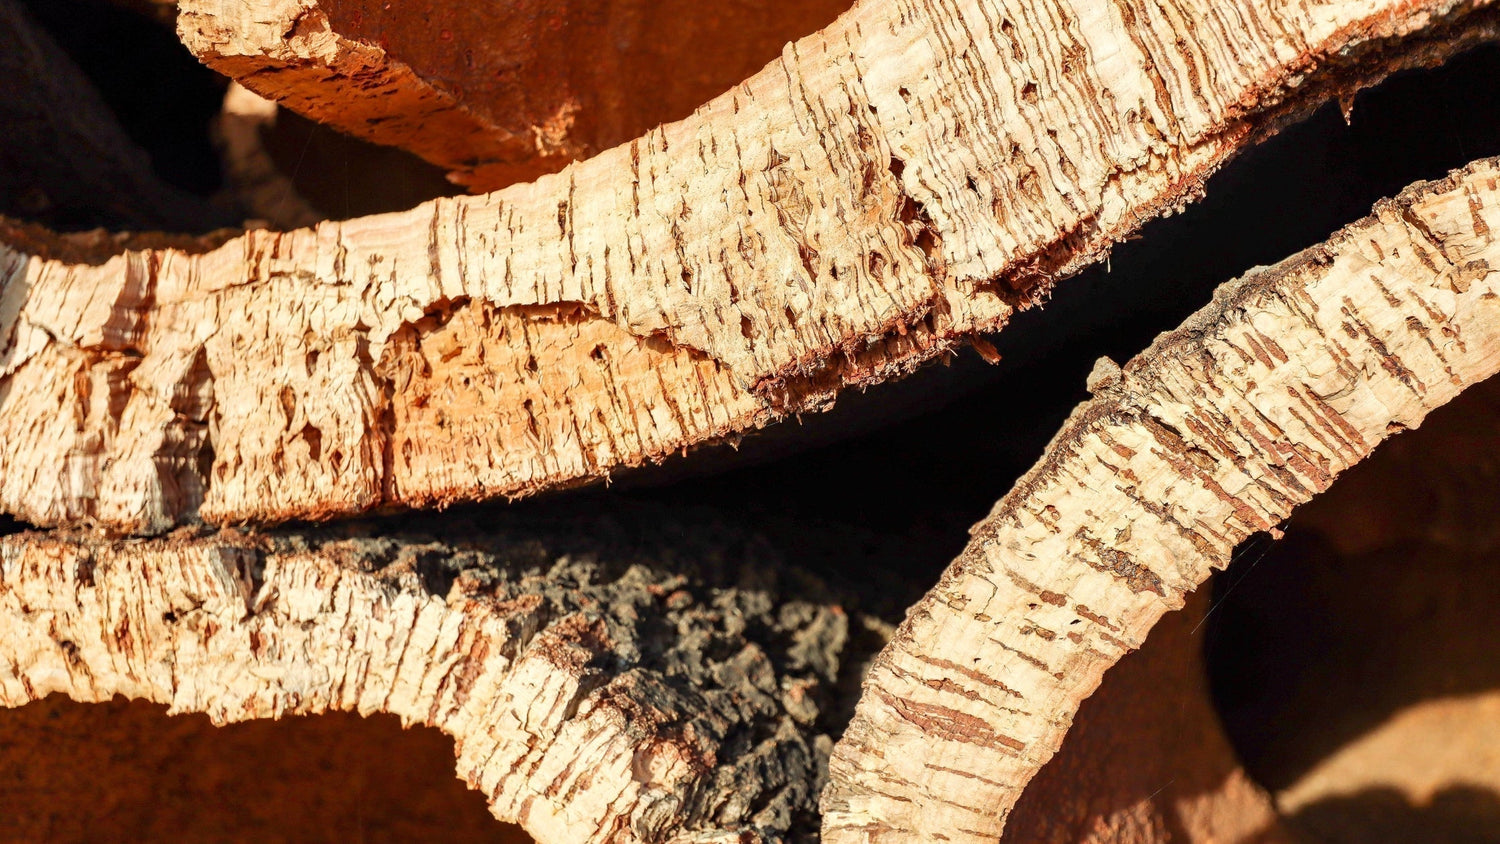
Cork flooring brings warmth, comfort and natural texture into a space in a way few materials can. Made from the bark of the cork oak tree, it's renewable, tough and beautifully suited to modern Australian homes.
If you're considering installing cork flooring yourself or want to understand the process before working with a tradesperson, then this guide explains how to lay cork tiles clearly and confidently, using products available through Portugal Cork Co.
Understanding Your Cork Flooring Options
Before beginning your cork flooring installation, it's important to understand which product format you're working with, as the installation process differs.
Cork Floor Tiles (Adhesive Installation)
Portugal Cork Co's cork flooring tiles (such as Marble, Dune, Champagne and Charcoal finishes) are designed to be installed using a specialist cork adhesive directly onto a prepared subfloor.
These tiles are typically pre-finished and available in formats such as 600 x 300 x 5mm, offering a refined, architectural finish once laid.
This method creates a seamless, durable surface ideal for living areas, studios and commercial interiors.
Greenflow Cork Boards (Click-Lock or Adhesive Options)
Greenflow cork flooring products support click-lock installation systems, allowing for floating cork flooring installation. These boards may also support wet adhesive installation depending on the specific product.
It's important to confirm the installation method listed on your chosen product page before beginning.

Step 1: Prepare the Subfloor Properly
Preparation is the most important part of installing cork flooring.
Your subfloor must be:
- Clean and free of dust or debris
- Flat and level (sand high spots if required)
- Structurally sound
- Completely dry
Concrete substrates must be checked for moisture. Excess moisture can affect long-term adhesion and durability. If installing cork flooring over a non-absorbent surface, a suitable primer may be required before adhesive is applied.
Step 2: Acclimate the Cork Flooring
Cork is a natural material that responds to temperature and humidity. Before installation:
- Store cork tiles or cork boards in the room for 48–72 hours
- Keep packaging flat and unopened
- Maintain normal room temperature
This reduces the risk of expansion gaps or movement after installation.
Step 3: Plan Your Layout
Good layout planning ensures a balanced, professional installation.
For Cork Floor Tiles
- Measure the room carefully.
- Mark centre lines using a chalk line.
- Shuffle cork tiles to create even patterning.
- Dry lay several cork tiles to preview spacing and pattern.
Starting from the centre of the room typically creates even edges along perimeter walls.
For Floating Cork Flooring Boards
Boards are generally laid parallel to the longest wall or in the direction of natural light. Leave a small expansion gap between the flooring and wall edges.
Step 4: Applying Adhesive for Cork Tiles
Most cork flooring planks from Portugal Cork Co are installed using a specialist cork adhesive.
Recommended Adhesive
Portugal Cork Co stocks Wakol D3540 Contact Adhesive — a flexible, water-based adhesive formulated specifically for cork flooring installation. This adhesive is:
- Designed for cork tiles
- Low VOC
- Suitable for absorbent and non-absorbent substrates (with primer where required)
- Formulated to accommodate cork's natural movement
Avoid general construction adhesives or rigid glues such as PVA or multipurpose bonding products. Cork requires flexibility to perform correctly over time.
How to Apply Adhesive
- Use the recommended trowel per adhesive instructions.
- Apply adhesive evenly across a manageable section of the subfloor.
- Follow open time guidance carefully.
- Press tiles firmly into position.
- Use a roller if recommended to ensure even bonding.
Work methodically across the room to maintain alignment.
View our Collection of Adhesives

Step 5: Laying Cork Tiles
When laying cork tiles:
- Start from your centre guideline.
- Press each tile firmly into the adhesive.
- Maintain consistent spacing.
- Check alignment frequently.
For edge pieces:
- Measure carefully before cutting.
- Trim tiles cleanly to fit walls and corners.
Precision during this stage creates a seamless final floor.
Step 6: Installing Floating Cork Flooring Boards
If your chosen product supports click-lock installation:
- Install a moisture barrier if required (especially over concrete).
- Begin along one wall, leaving an expansion gap.
- Click boards together along the tongue-and-groove edges.
- Use a tapping block and rubber mallet gently if needed.
- Stagger board joints for structural stability and visual appeal.
- Cut the last row to size, maintaining expansion spacing.
After installation, install trim or baseboard to cover expansion gaps.
Step 7: Finishing and Protecting the Surface
Many cork flooring products are pre-finished. However, depending on application and traffic levels, additional coating may enhance durability. We stock compatible coatings and finishes within our Adhesives & Coatings collection.
Always follow product-specific instructions regarding:
- Drying times
- Cure times
- Surface preparation before recoating
Proper sealing improves long-term performance and ease of maintenance.
Ongoing Maintenance for Cork Flooring
Cork flooring is durable and easy to maintain with simple care:
- Regular sweeping or vacuuming removes grit.
- Use cork-appropriate cleaners.
- Avoid excessive water.
- Place felt pads under heavy furniture.
With proper installation and maintenance, cork flooring can perform beautifully for many years.

Frequently Asked Questions
Can I install cork flooring myself?
Yes. Many homeowners successfully install cork flooring, particularly click-lock boards. Adhesive-installed cork tiles require careful preparation and correct adhesive application.
How is cork flooring installed?
Cork flooring is installed either as a click-lock floating system (where supported by the product) or by adhering cork tiles directly to a prepared subfloor using specialist cork adhesive.
What adhesive should I use for cork tiles?
Use a flexible, cork-specific adhesive such as Wakol D3540 Contact Adhesive. Specialist cork adhesives allow for natural material movement and provide long-term durability.
Do I need underlayment or a moisture barrier?
Adhesive-installed cork tiles are applied directly to a prepared subfloor. For floating cork boards installed over concrete, a moisture barrier may be required depending on site conditions. View our underlay collection.
Can cork flooring be installed over concrete?
Yes, provided the concrete is clean, level and dry. Moisture testing and proper priming (where required) are essential for long-term performance.
Creating a Floor That Lasts
Installing cork flooring is a thoughtful way to introduce natural performance, warmth and sustainability into your space. Whether you're laying cork tiles with adhesive or installing click-lock boards, preparation and precision are key.
If you'd like guidance in selecting the right cork flooring product, adhesive or coating for your project, Portugal Cork Co's team can provide tailored advice to ensure your installation is both beautiful and built to last.